part one
After a few hours of research, I was itching to get my hands dirty. It's important to be prepared and to know as much as you can before you start, but it's even more important to get started on the actual work.
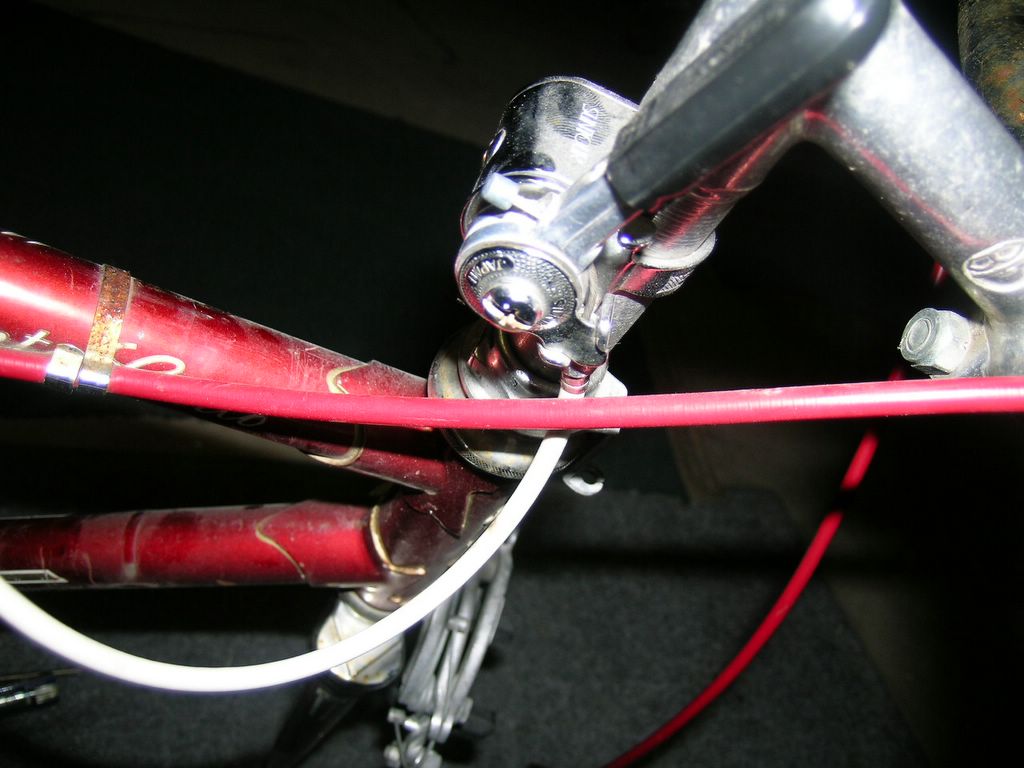
The first thing I did was to remove the rack that sat above my rear wheel. I'm going to use that on my other bike that I ride to work. Once that was out of the way, I was able to get at the wheel more easily, but I couldn't get it past the brake. Most brakes have some kind of release, but I didn't find one on these, so I just let the air out of the tube and it slipped off nicely.

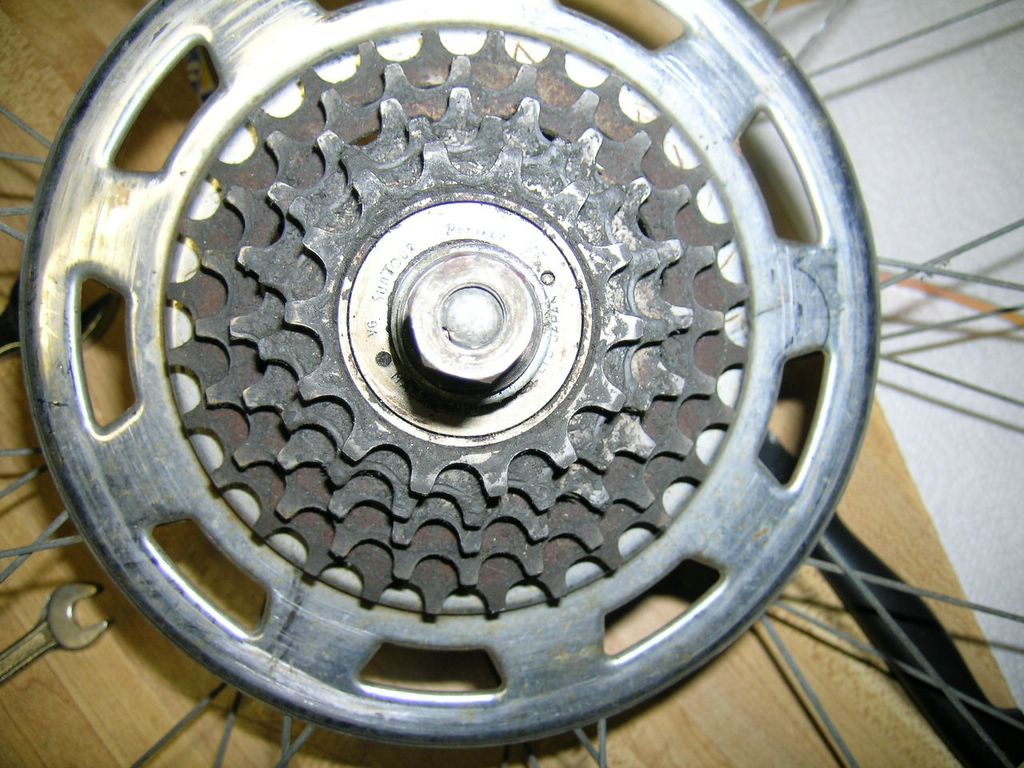
Conversely, I could do something like this. That's the same freewheel that I have on my bike! Sheldon has removed three of the sprockets and replaced them with spacers (read all about it here). I put the wheel aside for now.
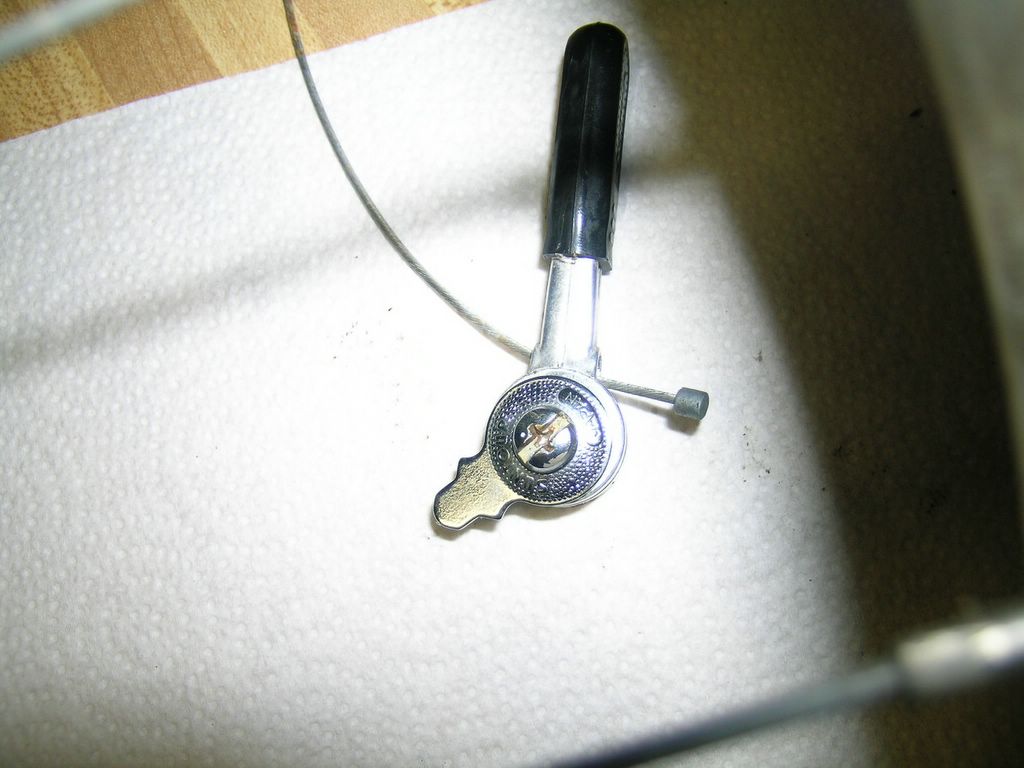
The most obvious thing to do would be removing the rear derailleur, since it doesn't work in the first place and I won't be using it anyway. But I didn't have my chain tool handy, so that stays on the bike for now. I did clip the zip-ties that were holding on the derailleur cables, and disconnected and pulled out the shifting levers. I won't be needing those any more!
I took off the wire basket on the handlebars, too. After that, I was ready to enjoy a cold one and call it quits for the day.

1 Comments:
It's remarkable designed for me to have a site, which is valuable designed for my knowledge. thanks admin
Feel free to visit my web blog :: adjustable work table stands for crafts
Post a Comment
<< Home