part eight
I had five hours at the Sibley Bike Depot for Saturday and decided that it would be a good time to finish my bike. It was close, but I pulled it off. Here's what I did.
Job one was fixing up my rear wheel. I clipped out three or four spokes with stripped nipples and threaded in new spokes, which was a long process. I had to bend a couple of spokes to work them through, and then bend them back as much as possible before securing them to the rim. It wasn't as difficult as I feared, however, and now I have a little wheelbuilding experience on my resume. Next, I threw the wheel up into the truing stand and got it pretty well straight. Then it went back on the bike along with the front wheel.
Rear brakes came next. I trimmed back the housing by a few inches and clipped it back on to the top tube. Remember that rusted cable fastener from the very first day? Here's what it looks like all cleaned up.

Much better! Two of those clips hold the cable onto the frame, and then it threads back around the seatpost down to the brake. Here's how that looks after the cleaning and rerouting.

Now that I had the rear and front brake cables connected, I messed with tension and tried to get the brake pads all lined up with the rims for maximum stopping efficiency. Like all the moving parts on this bike, the brakes, levers and cables will need a little tweaking to get perfect. For now, they're fine.
At this point, I almost had a complete single-speed bike. The only thing missing was a chain! I was handed a 1/2x1/8" chain, but remember kids: Surly (who know what they're talking about when it comes to SS and fixed-gear bikes) recommends 1/2x3/32" chains for single-speed drivetrains. I got a Pyramid chain, which doesn't have any of that wacky masterlink hoohah and just works like a good chain should: every link can be taken out and stuck back in. I took out a few links and put it together again on my bike.

(note: the chain is way too loose as seen here, and would probably pop right off under serious acceleration. I removed a couple of links and got the tension just right after taking the photo.)
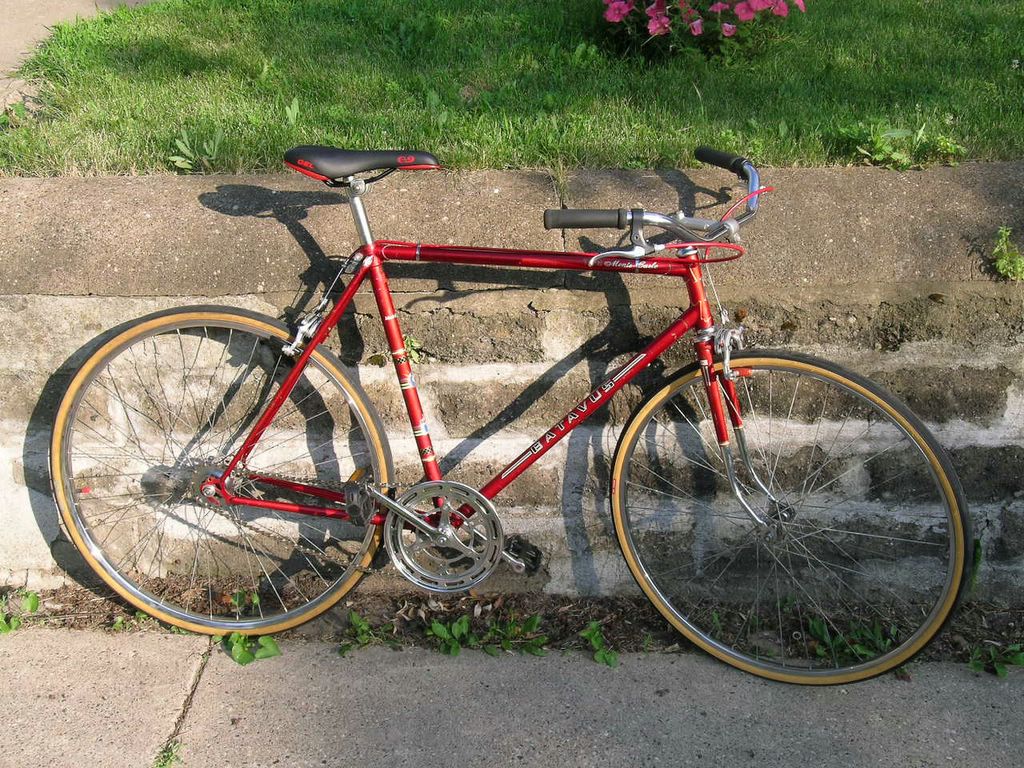
Time to ride! I pumped up the tires to the maximum recommended PSI, double-checked the brakes, wheels, and seatpost to make sure they were tight, and jumped on for my first ride on the Monte Carlo. I was happy to see that it was the correct size (since, you will recall, like an idiot I didn't even measure the seatpost or swing a leg over before I bought it). I was sad to be sitting on the saddle that came with it. It was one of the most uncomfortable things I have sat on, ever.
But I didn't think about any of that while I rode my bike around the block. It was a beautiful and glorious time. I could go! I could stop! I was beaming when I returned to the shop, but my joy was briefly interrupted when the front wheel exploded with a loud BANG!--making everyone jump. It took a while to even discover that the sound had originated from my bike, what with all the echo.
I was advised to let the air out of my rear tire fast before it went off too, and inflate them up to about 60-70 PSI, even though the tires are rated up to 90. Something about the heat making them inflate. I replaced the (brand new, Bontrager) tube with a Pyramid one from the shop after checking the rim for other problems. Everything looked fine, but I'm concerned. After all, the front tube was blown out when I bought the bike! I hope that this does not become a recurring problem--I have already spent on tubes half of what I spent on the bike.
Anyway, I fixed the tube and put the tire back on and pumped both tires up to a flaccid 60 PSI. There was only one thing left to do, and that was to replace my seat with something that didn't feel like this. Luckily, the shop had gotten a sweet deal on some new saddles and I bought one at wholesale price. I went for another ride around the block to test it and the tires, and everything was good this time. The new saddle was way more comfortable than the old one, but most importantly, it matches the bike!

I paid for the chain, seat, and tube, and went home with a functional bicycle. Like I said before, it needs some fine-tuning before it's perfect, but the major work is out of the way--for now, at least. Well, that wraps up my conversion story. I hope you learned something, enjoyed the page, or at least killed some time at work.
THE END?


3 Comments:
This comment has been removed by a blog administrator.
This comment has been removed by the author.
I really enjoyed reading about your project. I have just finished my own fixie albeit nothing as ground up as your project.
Post a Comment
<< Home